Grid
Home Up Border Card Flow Grid Null


Grid Layout Manager

The grid layout manager is invoked in one of two ways:

  1. setLayout(new GridLayout(int, int));

    The first integer specifies the number of rows, the second the number of columns.   The layout manager creates a 2 dimensional grid with the appropriate number of rows and columns.  The first time something is added, it is placed in row 1, column 1;   the second time something is added, it is placed in row 1, column 2, etc.
  2. setLayout(new GridLayout(int, int, int, int));

    This time there are four parameters.  The first two specify the number of rows and columns, the third specifies the horizontal gap in pixels between cells, and the fourth specifies the vertical gap in pixels between cells.

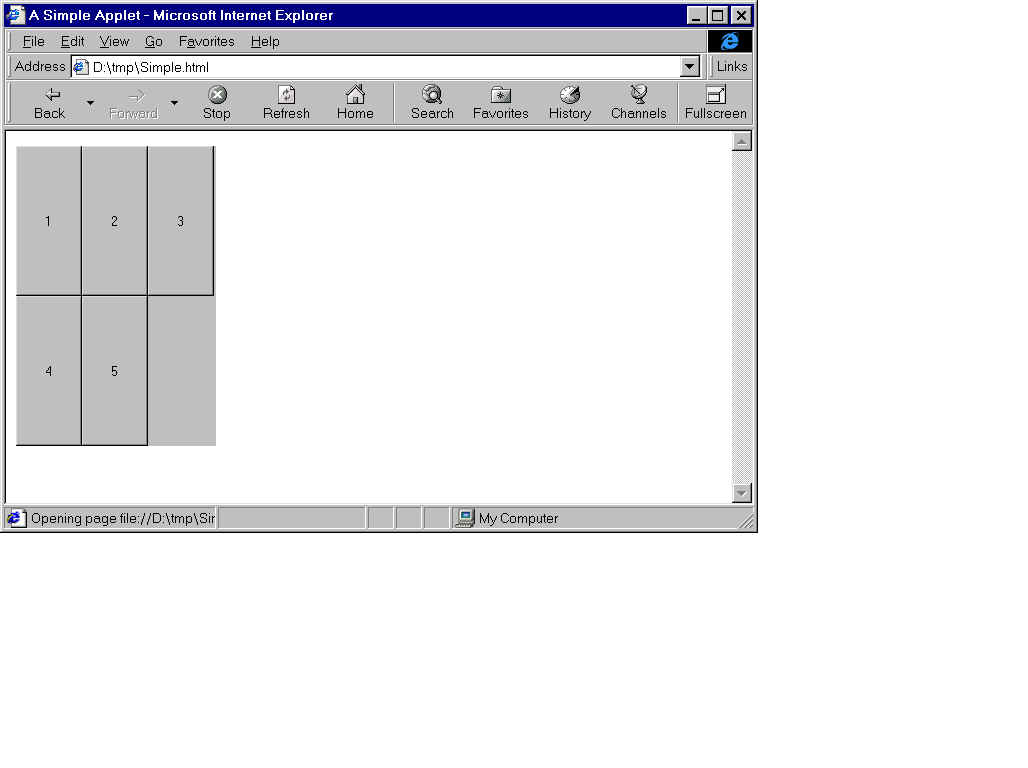
Example

In the example below, a 2 by 3 grid is created.  Button "1" is placed in row 1, column 1; button "2" is placed in row 1, column 2, button "3" is placed in row 1, column 3; button "4" is placed in row 2, column 1, and button "5" is placed in row 2, column 2.  Row 2, column 3 is empty since only five items were added to the grid.

import java.awt.*;
import java.applet.*;        
public class Grid extends Applet
{
	public void init ()
	{
		setLayout(new GridLayout(2,3));        
		add ( new Button("1") );
		add ( new Button("2") );
		add ( new Button("3") );
		add ( new Button("4") );
		add ( new Button("5") );
	}
		        
}      
What You'll See: