1) Creating Cartoon Eyes (Lattice Deformation, Eyes Tracking to Empty)
2) Animating Cartoon Eyes (Includes using hooks, and IPO Drivers)
This was taken from a tutorial on the Web that I updated a bit.
Most of the stuff is a very helpful intro to animating characters.
We will spend the next 5-8 class periods working on animating things.
Eyes, arms, legs, colors, organics materials, and sequences like walking.
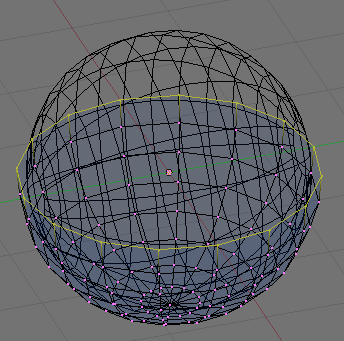
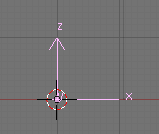
1) Go to (ZX view)
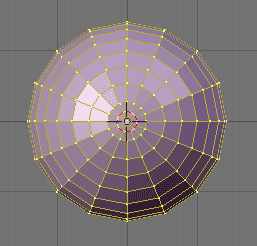
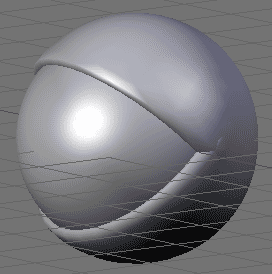
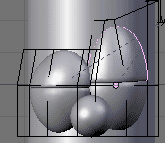
2) Create a UV Sphere, Seg 16, Rings 16.
2.5) Go to (ZY view)
3) Go to Object Mode.
4) Duplicate the model, and scale it.
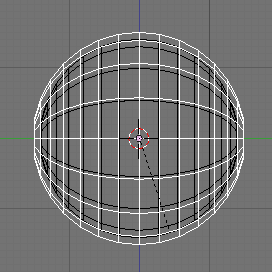
5) Go back to edit mode, with the dublicated model.
6) Roate the model 90 degrees.
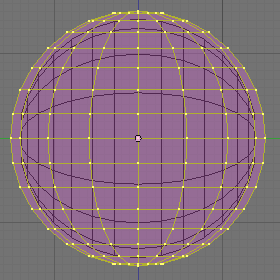
7) Select and delete the top vertices.
8) Select and extrude the top vertices inside.
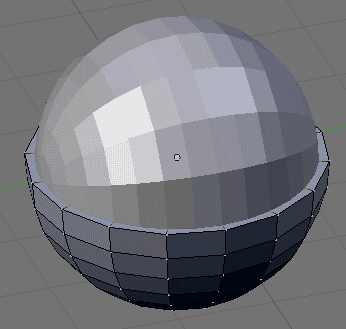
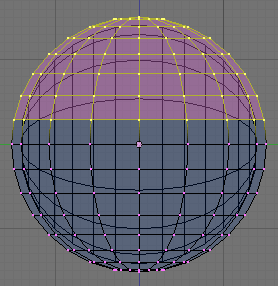
9) Now go back into object mode, duplicate the eyelid and rotate the 180 degrees.
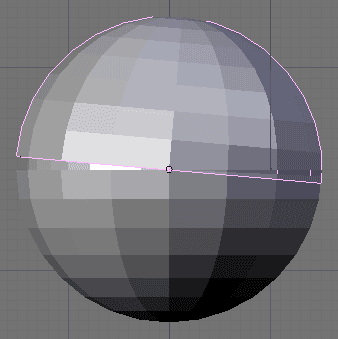
IMPORTANT
After you have rotated the duplicated eyelid 180 degrees to "closed eye" position, you must apply that rotation. (Ctrl+A)

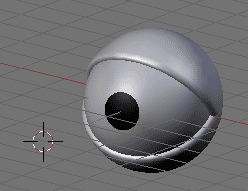
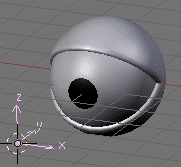
10) You may now rotate each eyelid about 45 degrees.
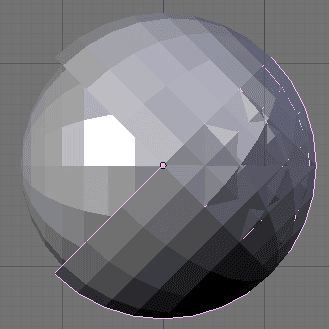
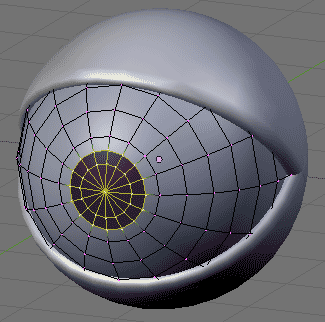
11) Apply smooth and subsurf to both the eye and lids.
12) Assign certian vertices a black material.
Question: How do you apply "only a certain number of vertices a black material"?
Place you cursor infront of the eye.
Create an empty. (Be sure to clear it's rotation.)
Select the eye and apply the following settings to it, through a Constraint.
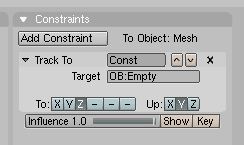
Now if you move the empty, the eye will follow it.
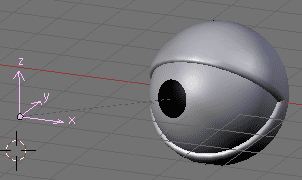
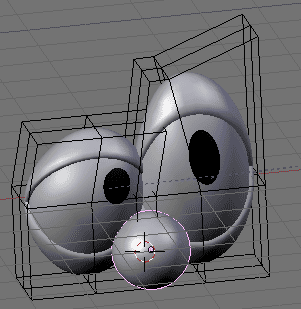
- Place you cursor exactly in the middle of the eye. (Use snap to object).
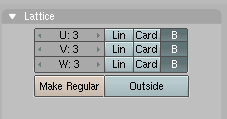
- Add a Lattice.
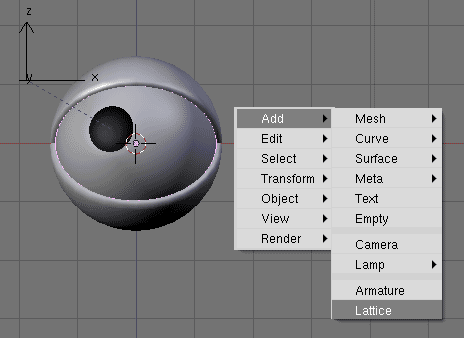
The lattice
might be too small, so scale it to completely contain the eye within.
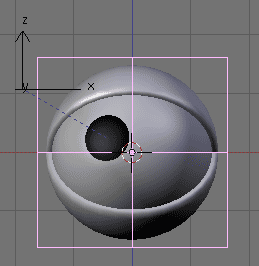
Apply the
following settings to the latice.
Now select both the eyelids and the eye, followed by selecting the
lattice. And make it parent.
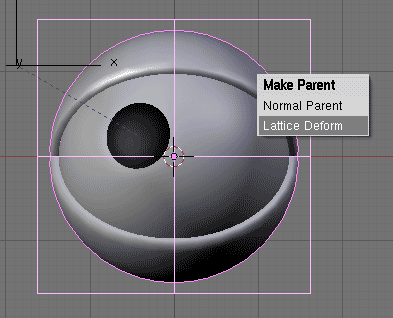
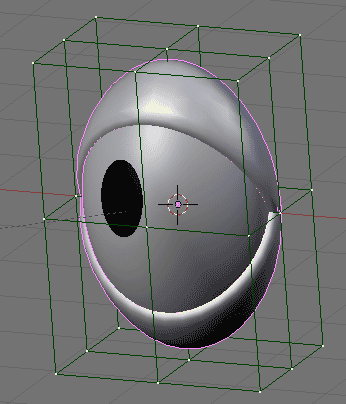
Now by selecting the lattice and going into edit mode, you can deform
the eye. Including the eye lids.
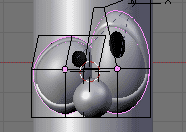
Now duplicate the eye eyelids and lattice, notice that both eyes follow
the empty.
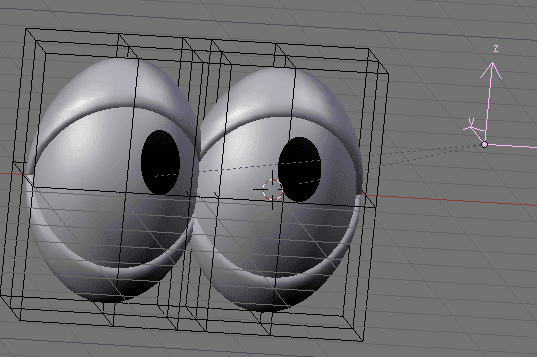
You can now deform the eyes using the lattices.

Since the eyelids and eyes are parented to the lattice, you can move
the lattice and the whole eye will move. Meaning that you can parent
the lattice to other objects (body, armture) and the eyes will stay in
place.
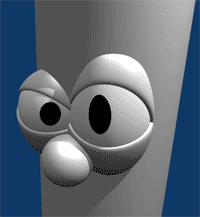
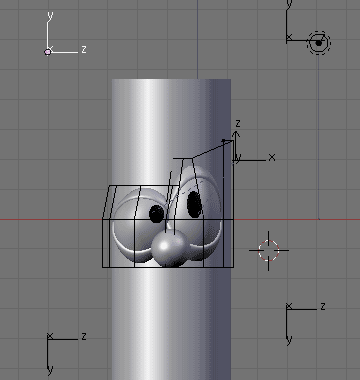
Here, I just quickly created a Cylinder and parented both lattices (and
nose) to the Cylinder.
------------------------------------------------------------------
Animating the Shape
------------------------------------------------------------------
If you go
into edit mode, you can assign certian vertex points in a
lattice: a "hook."
1) Select the points you want to be able to grab when you are outside
of edit mode.
2) Click Ctrl+H
3) Add, To
New Empty.
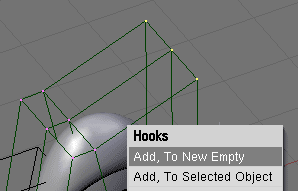
Using these hooks (empties) you can now animate the shape of the eyes.

------------------------------------------------------------------
Eyelid Rotation
------------------------------------------------------------------
Try rotating the eyelids. Pretty cool huh?
But there is a problem, at one point your character will be in such a
position that the eyelids will be hard to rotate correctly.
------------------------------------------------------------------
Getting eyelids ready for IPO
------------------------------------------------------------------
In order for the ipo curves to work correctly we need to set the
eyelid's closed position as the default rotation position. So that if
we tell the eyelid to go to 0 degrees, the eyelids would close.
Select all all four eyelids and clear their rotation.
If the eyelids do not go to a closed position.
- Rotate the eyelids to a closed position.
- Select the eyelids and click (Ctrl+A) This will make the current
state, the default non-rotated state.
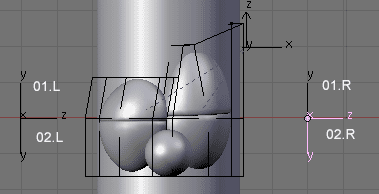
- So now to the side, create an empty. Be sure to clear it's rotation.
(Alt+R)
As a matter of fact, create 3 more empties, and give them the following
names:
------------------------------------------------------------------
Setting up IPO curves.
------------------------------------------------------------------
1) Spilt the window in two.
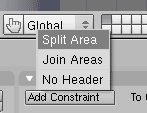
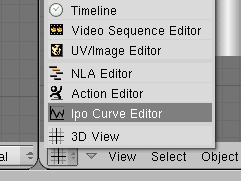
2) Select the IPO curve editor.
3) Select our first eyelid.
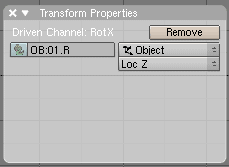
4) In our IPO curver editor Window, Select the RotX.

5) Open the Transform Window. (Click N) And apply the following
settings:
Note: Our corresponding empty is "01.R"
6) Insert a curve. (Click I)
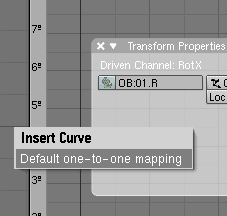
7) Select the curve and click TAB, to go into Edit mode. AND apply the
following settings:
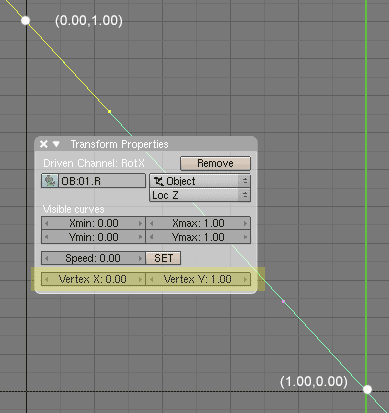
8) Apply the same setting to all other eyelids, only change the object
name: corresponding to the empty names we gave.
------------------------------------------------------------------
Conclustion
------------------------------------------------------------------
Now try to move the empties around.
I